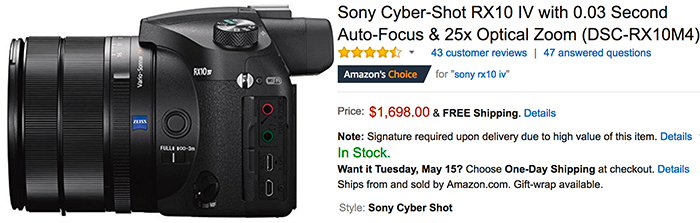
This week on DPReview TV, Chris and Jordan are off to the sunny shores of the Pacific Ocean in Monterey, California, where they review the Sony RX10 IV. Watch to find out how this all-in-one superzoom camera held up to the sun, surf, and a challenging range of shooting scenarios.
I use the Sony a7III, a7RIII, and a6000 for some sports shooting. I make some general comparisons over the image quality and features in this VLOG. Link to products used below:
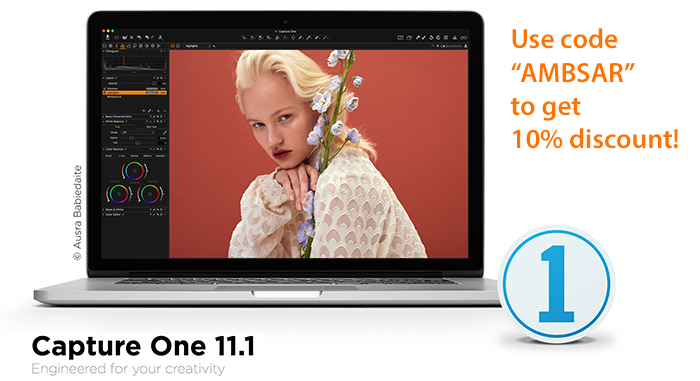
Capture One – The best end to end photo software for Sony users?
As a Sony Shooter since the days of A58, it’s fair to say I’ve seen my fair share of changes, A-Mount to E-Mount, Translucent mirror to Mirrorless, crop sensor to full frame… I have been committed to Sony since the start as I feel they have always solved the modern issues photographers face and have always kept looking forward to what us photographers need next. Whether it be smaller bodies, better in low light, 5 axis stabilised sensor …. I started with the A58, then got a Nex5, then moved to A77 and then to A7 and now do the majority of my work with the Sony A7RII (I literally love it) and A7.
It’s pretty clear I am in it for the long haul with Sony, but with this came some issues around compatibility of software’s and defining my workflow to suit my style of work. I started off as a music photographer cutting my teeth on the dance floors of London’s leading night clubs, working with publications such as MIXMAG, DJ Mag and Time Out Magazine. As most Photographers do I started out using Lightroom and Photoshop, for the event work this matched my workflow and did the job. But over time I matured in my career as a photographer and started to broaden my skills and pushed into shooting portraits of the artists, with this came understanding flash and all of the technicalities of shooting portraits or press shots as they are known in the music biz.
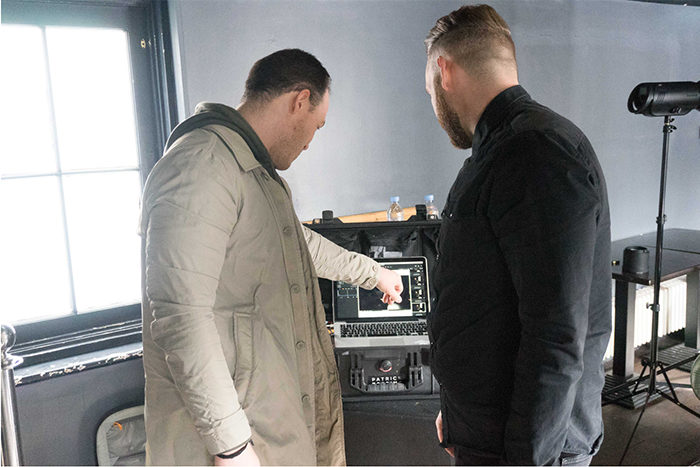
The first issue I came across was the barrier that the camera created between me and the subject, shooting festivals this isn’t an issue but holding a camera up between you and another person changes the dynamics regardless of how used to it you both are. So, I did some research and came across tethering (a style I had seen a lot but always scared me), I decided I wanted to try it- to remove the camera as a barrier and create a place where both me and my subject could come together to look at the direction of the shoot. So, I went and picked up myself a Tether Tools cable and some jerk stoppers (didn’t stop all jerks, but thats life).
Of course, you can go and just grab any old USB cable, but they are simply not designed for shooting tethered – too short, huge impedance, dark coloured so you trip on them! Investing in Tether tools is the only way to go as its their sole purpose and they do it very well! I have never had an issue with any of tether tools solutions, the issues came from being a Sony shooter and tethering to Lightroom – at this point the only post production software I knew how to use!
Adobe have never had or to this day have a direct import solution for shooting tethered with Sony, in order to do this you need a 3rd party software provided by Sony (https://support.d-imaging.sony.co.jp/app/imagingedge/en/) The problem I found with this is it adds a potential failure point to your workflow and as a professional one of the best bits of advice I could give to anyone would be – mitigate risk as much as you can! Reduce any possibility it could go wrong as going wrong costs you money and damages your profile.
In order for the tether to work (not really a tethering more of an auto import/export – which is taxing on your computer), you need to have your files save to a destination on your computer that can then be used as a watched folder lightroom will auto import from – this takes time and is very unreliable, which on a shoot with a superstar DJ is not an option!
After using this solution for a few shoots, I realised this was just not going to do as it kept failing me so I had to look elsewhere…. this is when I found Capture one! I can honestly say this single piece of software has changed my workflow and become more central to my workflow than any other pieces of kit I own! Capture One offers a huge deal more in terms of post-production options than lightroom so I have had to learn a new piece of software but the key to learning it is that you’re not restricted – you can tailor the layout to best suit your workflow.
The first problem COP solved was the entry point of data (regardless of how much money you have spent on gear… your images/data are worth so much more, do not take any risks when transferring it and protecting it!)
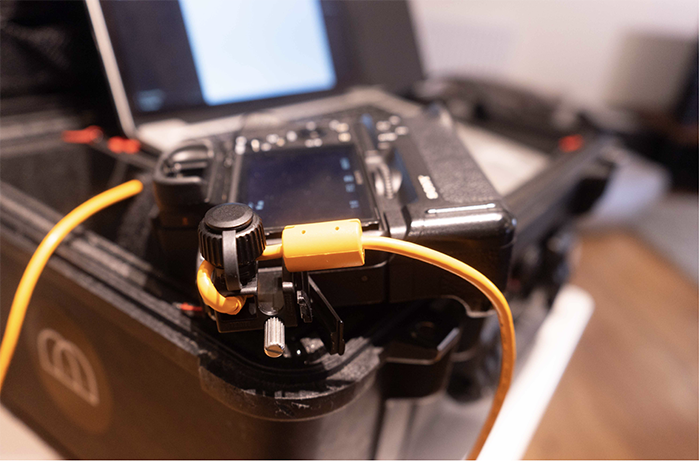
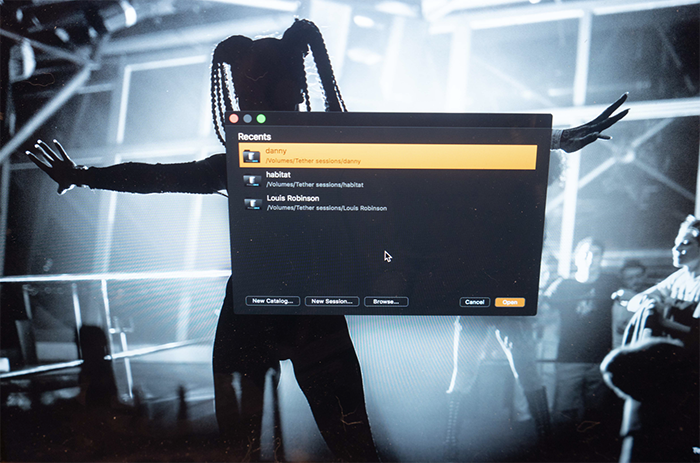
In terms of setting up COP for tethering, I take my tether tools cable and plug it into my camera, then activate a session – titling it for easy management later. Once I have done this … well that’s it done there is nothing else I need to do. It works every time without fail!
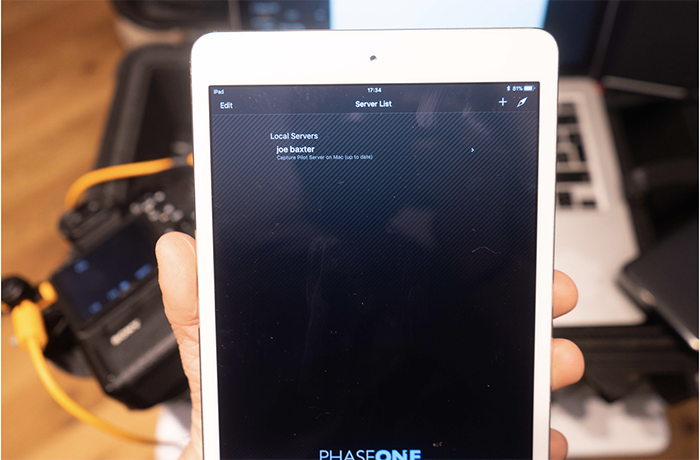
When a DJ and his management team turn up to shoot it can get somewhat restrictive with them peering over your shoulder, they spend their lives arranging DJ’s hectic lives and can’t help but want control over the shoot. As frustrating as it can be there is a solution ‘Capture Pilot’. This feature alone easily sets COP apart from anything else out there, Capture pilot allows you to create a closed network via the computer you are tethering to and connect an iPad/iPhone and instantly share the images taken in that session or a previous session available via the network. For me this has a very simple benefit, I can keep agents and other style crampers at bay but they can still have full visibility of the shoot! GOLDDUST and a free app to use too!
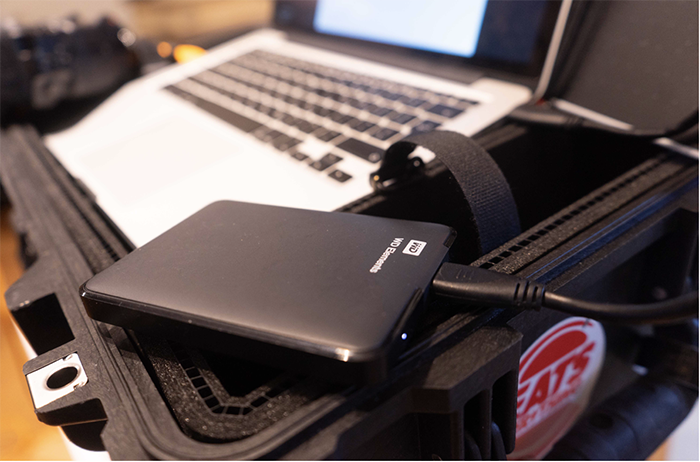
As I mentioned above risk mitigation is crucial for me, so when I shoot in the studio or on location I tether to an external hard drive and run the session into there, keeping my computer light on data and giving me an option to separate the images from my computer once I have finished shooting.
The great thing about COP is that I can easily rate all of the images in the session and make adjustments in real time, this is great if I shoot an image that the subject may feel is too dark or isn’t saturated right. I can make the changes in front of them and mark it as a 5 for easy reference later when running the edit. This builds confidence in the output of the images and always helps people understand the creative vision you have and the direction you want to take the shoot.
Getting the images into the computer easily is the first major win for Sony users, from here the software really comes into a world of its own! When I used to shoot events the key parts of my post productions were clarity, saturations, shadow and exposure to get it looking usable. When dealing with humans with delicate tones that battering ram tactic will not do you need a software that can make very subtle adjustments and are realistic and true to life – COP does this easily!
Like most photographers out there I am a photographer, re-toucher, marketing department, sales and customer services… the most technical aspect being a re-toucher, I was not educated to do this so all I know has been self-taught and that’s where COP really closed the deal for me offering a whole host of YouTube tutorials allowing me to get to grips with the solution and understand how to edit my images within the software!
I have found most Sony shooters out there are the kind of people that adopt new tech early and don’t like to be limited by what their tech can’t do… I found my camera solved all the issues I was facing shooting, but I was being limited by the backend. COP for me is a complete end to end solution for any Sony shooter and I can honestly say it’s made a huge difference to the standard of work I deliver and combining it with the other tech I use gives me all I need to operate as a pro. Here is a video I added to my vlog going into detail about how I use COP 11 on a shoot:
Leonardo Carrizo posted his full Tamron 28-75mm FE review at Mpex-Experience.com. And folks, there is only good news to reports:
– But is it sharp? Yep, it’s sharp! And on a 42 megapixels camera it’s insanely sharp. – From my experience it feels like a professional lens should feel in your hands. – shooting at 28mm is wide enough for an environmental portrait and there is no risk of distortion. – if you are shooting portraits this is a very good lens option. – Another cool feature of the Tamron’s 28-75mm f/2.8 Di RXD is its MOD (Minimum Object Distance) of 19cm or 7.5″. Basically, this means that you can shoot wide angle while keeping your subject close to you and sharp
Conclusion:
I truly enjoyed the awesome versatility of the Tamron 28-75mm f/2.8 Di RXD lens for Sony’s full-frame mirrorless E-mount cameras. It’s an extremely fast and sharp lens constructed for the hobbyist or professional photographer in mind. It can easily become the only lens you need for typical travel and street photography. At the same time, I wound not hesitate to take this lens on any commercial or editorial assignment as long as I have a Sony A7R III to go with it. After all, together, they are a perfect fit!
That Tamron lens is surprising us more and more. David just posted his Face detect & Eye AF review and damn…this lens focuses as quick as native Sony lenses!
No surprise here. Dpreview just updated their buying guide and the Sony a7 III is “officially” the best camera you can buy for under $2000:
“The a7 III’s combination of solid image quality, versatile autofocus and impressive 4K video quality make it extremely competitive, and for those reasons we’ve selected it both as our top choice for shooting people and events, and our overall top pick under $2000.”
Engadget tested the Sony A7III and the conclusion is quite favorable:
Sony’s 24.2-megapixel A7 III is a near-perfect all-around mirrorless camera. You can fire bursts at 10 fps, capture sharp images with excellent dynamic range day or night, and autofocus accurately on fast-moving subjects or portraits. It also handles very well and captures the sharpest 4K video of any full-frame mirrorless camera on the market, except for Sony’s much more costly A9. It’s not perfect, as the viewfinder and EVF are less sharp than rival models. Overall, however, it’s the best $2,000 camera you can buy and arguably the best on the market, period.